Laying Pavers Part 3 – Setting Out August 13, 2017
Setting Out Your Paving
Now that the physically hard stuff has been done, its time to prepare the area for laying. The area has been excavated to 175mm below the finished height of the paving. Its time to get our crushed rock/roadbase into place.
What is Crushed Rock/Roadbase?
Melbournians calls it crushed rock, Sydney siders call it roadbase. All I am refering to is a graded material consisting of various sized aggregate particles (coarse and fine) which allow for compaction. It is used as a sub-surface material during the construction of roads, concrete areas and paving.
So 27 square metres multiplied by 0.075mm of crushed rock = 2.02 cubic metres, lets call it 2 cubic metres. Spread your crushed rock over area evenly, levelling it with a rake if needed. Compact your area using a plate vibrator (available for hire at any hire shop if you haven’t got one handy) making sure you make at least 2 passes over the area. Make sure that the finished level of your cryshed rock is at least 100mm below the finished height of the paving.
Deciding on a Pattern and the Best Way to Lay
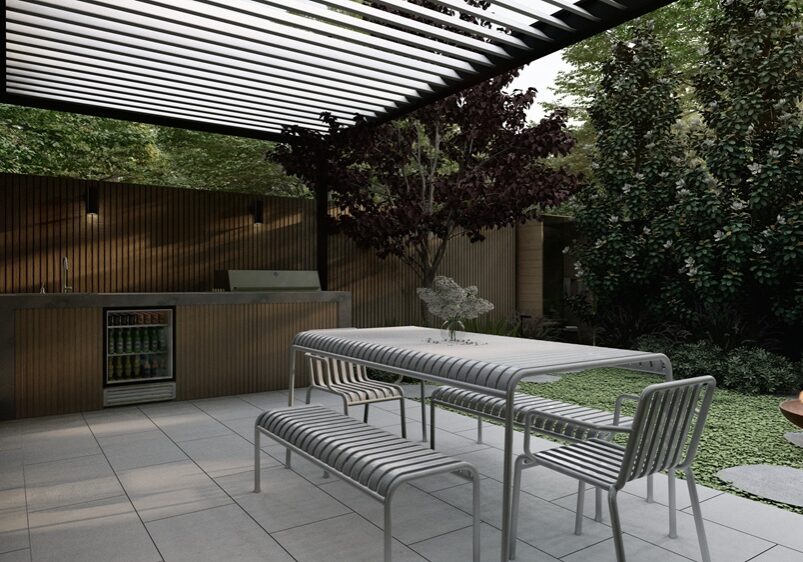
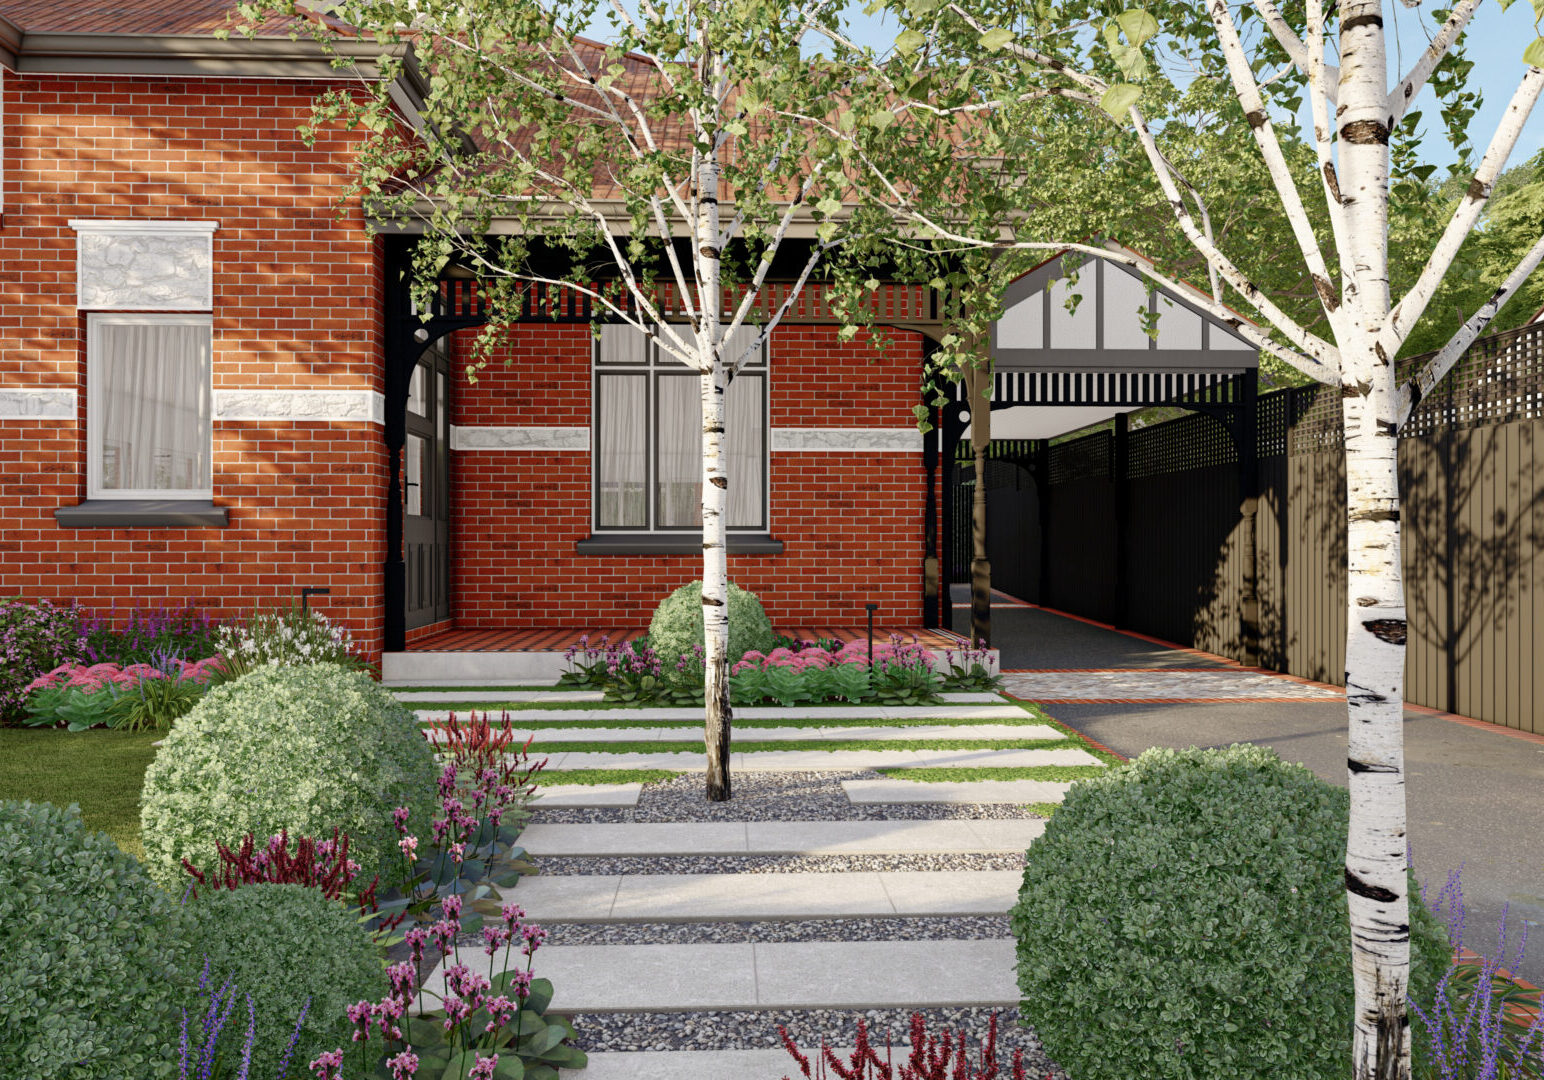
Now its time to think about the best way to lay your paving. Consider the pavers you have ordered and the pattern that you want to lay. Depending on your space, some patterns will be easier to lay, with less cuts needed. Lets say you have an area 2 metres by 2 metres and you are laying 500mm by 500mm pavers the most efficient way to lay the area would be to lay stacked bond, 16 pavers 4 by 4, this way there are no cuts. If you were using 400mm by 400mm pavers, you could lay 5 pavers by 5 pavers with no cuts. However if you wanted to lay 45 degree herringbone, you would have alot of cuts to do. For more patterns visit the Boral website.
Something Else to Consider
Once you have worked out what pattern you want to lay, and the best way that this pattern will fit into your area, with the least amount of cuts, you will need to work out a starting point. Paving always looks its best if it is laid square to your house, especially if the area is close to the house. If your area is away from the house next to a wall or fence, you should lay it square to this. It needs to be laid square to whatever it can be compared too, otherwise it will not look right.
We’ll continue on in Laying Pavers Part 4 – Laying Pavers.
Happy Landscaping
