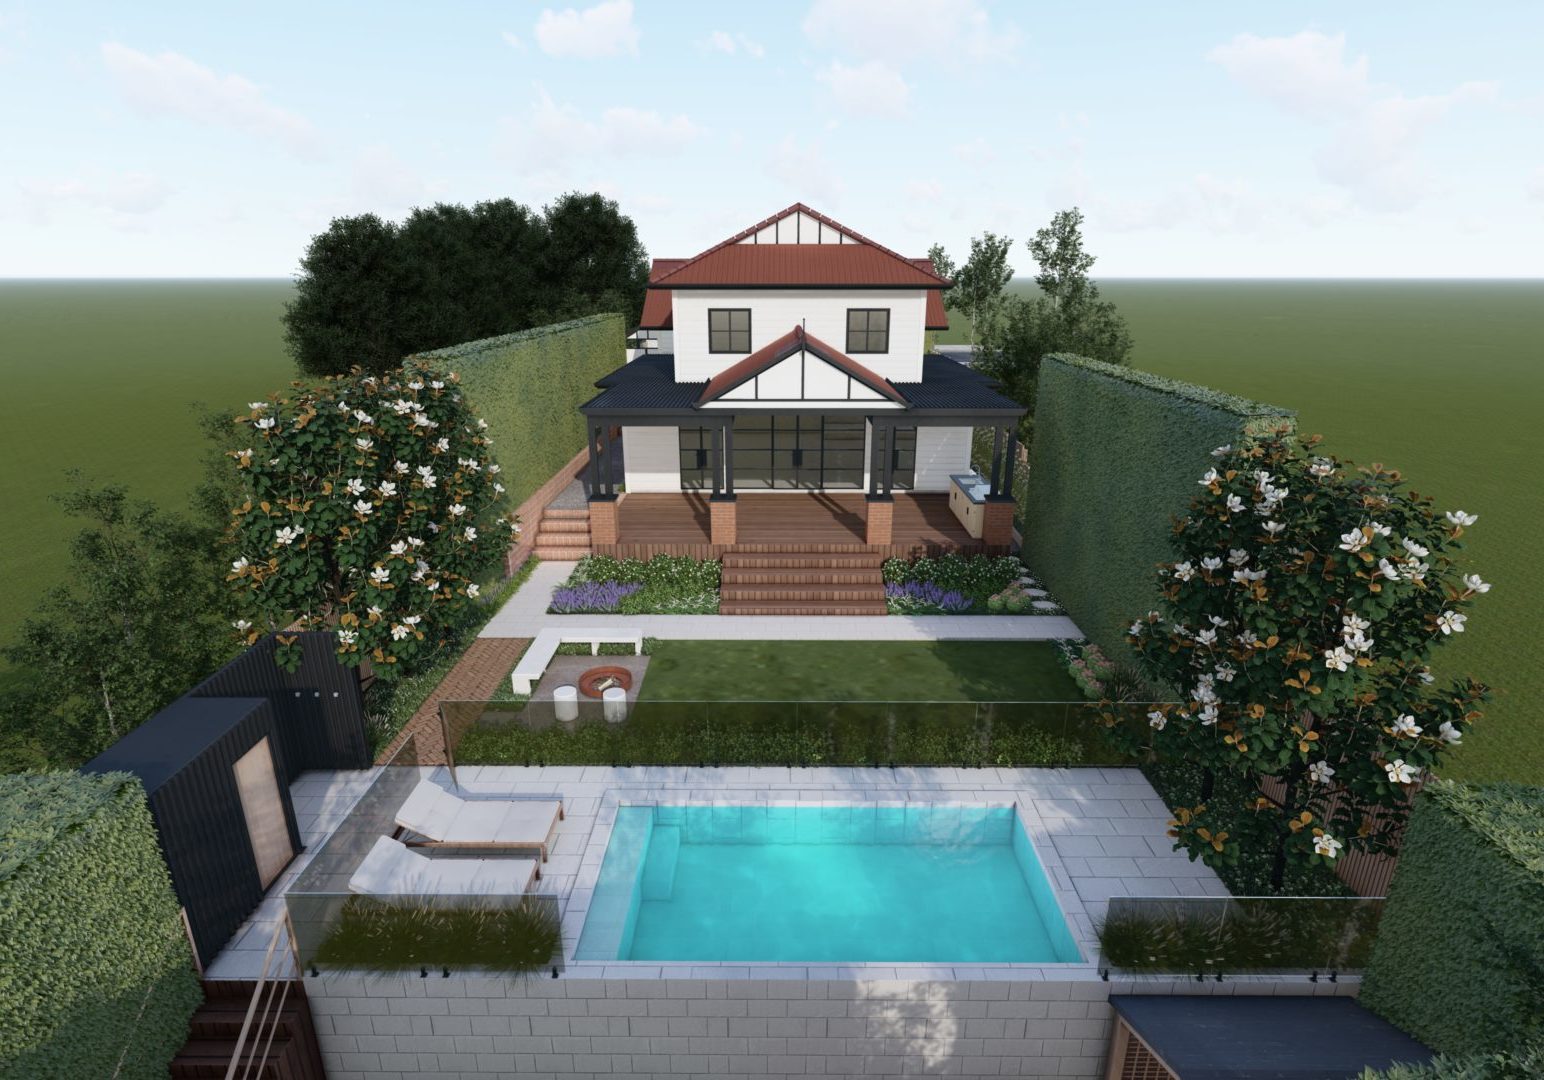
Sleeper Retaining Walls 101 December 26, 2016
Sleeper retaining walls are not hard to install and can definately be attempted by any DIYer with a bit of time and muscle.
Sleepers generally come in two types – treated pine or red gum. I would recommend using treated pine sleepers as they’re cheaper, lighter and more sustainable than red gum sleepers. However if that rich red colour is what your after red gum is the way to go. When constructing a wall with sleeprs it is important that your sleeper of choice is at least 75mm thick otherwise over time it will warp.
The first step is to mark out the exact location of your wall, making sure it is square with your house or pool. Using a stringline, tape measure and spray paint makes this process a whole lot easier.
Excavate any weeds or if your wall is retaining an embankment, excavate the soil back – 500mm behind the front of your wall.
Next we need to mark out the location of your posts. The distance between the posts can’t exceed 2.4 metres.
Example 1: If the length of our wall was 9.6 metres. We would need 5 posts – 1 at either end and 3 spaced evenly at 2.4 in between the two end posts. This gives us 4 bays of 2.4 metres.
Example 2: If the length of our wall was 11.5 metres. We would need 6 posts – 1 at either end and 4 spaced evenly at 2.3 metres in between the two end posts. This gives us 5 bays of 2.3 metres.
Time now to excavate our holes. Everyone I have spoken with over the years has a different method of working out the depth of the post holes. The theory I work on is – half the height of the wall plus 100mm. For example if your wall is going to be 800mm high, the holes for your posts should be 500mm deep.
Time now to concrete your posts into position. Sleeper retaining wall posts come in two varieties – steel galvanised H Beams or a vertical sleepers. Using sleepers as your posts costs about a third of the price of H beams. H beams do have there advantages however, one being that of durability. For the purposes of this blog post we’ll use treated pine sleepers as our posts.
So now its time to set up your stringline, and concrete your posts into position making sure that they are all straight and spaced accordingly. This is generally a quicker and easier exercise with two people, but can be achieved solo. Allow 24 hours for the posts to set.
Now you can construct the wall by screwing horizontal sleepers to the back of your posts. Start by screwing (using 150mm bugel screws 14g) the entire bottom row of your wall into position. Using a spirit level will ensure that your first row is level. Now just keep stacking the sleepers up on top of one another and screwing them to the posts.
Lastly you will need to place 20mm scoria behind the wall filling to at least half the height of the wall for drainage purposes.
Most councils in Victoria will only allow you to construct walls up to 1 metre high without a permit. For walls higher than one metre council approval will need to be obtained.
Happy Landscaping